Merged documents result from combining information in source records and a template document.
• The template works like any other Nisus Writer Pro document and can contain any content (formatted text, images, etc). The template also includes merge placeholders, which are replaced during the merge process.
• The source records hold the details that makes each merged document different. Its contents replace the merge placeholders in the template. The process repeatedly combines one source record with the template to generate many merged documents.
Here are some guidelines for merging documents:
• Use the same merge placeholder names in both the template and source records.
• Put the template and source records in the same folder.
While this is not a requirement for merging the information it makes finding the appropriate data easier.
The procedures that follow explain how to merge a template document (a form letter) with a data records (a list of people who should receive the letter).
The merge template document contains merge placeholders that are replaced with information from the source records.
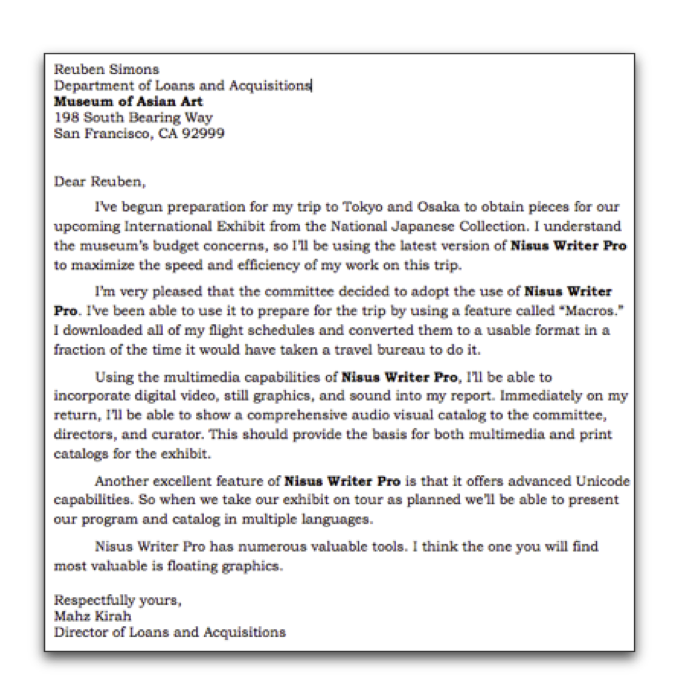
It is often best to create a specific letter or document, and then convert it into a form letter afterward. For instance, you might want to send a letter like this:
Figure 481
A standard business letter
But you have several associates with whom you want to share this information. This is a perfect situation for doing a merge. Start with your letter to Reuben Simons, and alter it.
1. Choose commands of the menu Insert > Merge Placeholder to look something like this:
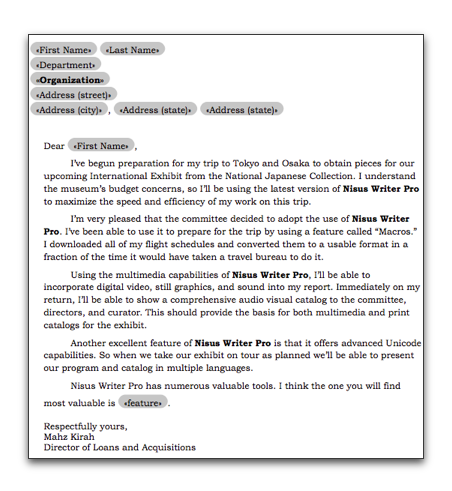
Figure 482
A standard business letter with Merge Placeholders
☞ You will notice that not all the Merge Placeholders in the new letter appear in the menu Insert > Merge Placeholder. You can create any Merge Placeholder you want.
2. Choose the menu command: Insert > Merge Placeholder > Other… to enter custom placeholders and choose from the three available options:
► Placeholder for Contacts property: choose from a set of standard contact properties from the popup menu, including:
First Name, Last Name, Work Email, Home Email, etc.
These are the fields available in Apple's Contacts application.
► Placeholder for the property with the name: type the name of the placeholder you want to use in your document. The name is completely arbitrary. The only requirement is that it match the names used in your source records.
In addition you can check either or both:
▪︎ If not blank, then prepend: and add the text you want to have appear before the text that replaces the Merge Placeholder.
▪︎ If not blank, then append: and add the text you want to have appear after the text that replaces the Merge Placeholder.
► Placeholder that uses the output from the following Perl code: insert custom Perl code that generates the text that will replace the merge placeholder.
This code is run once for each record in the data document to derive the text used during merging (which should be printed to STDOUT or “standard output”). All data source property values are available to this block of Perl code in the special predefined “record” hash. A trivial example that constructs a full name:
print $record('First Name') . ' ' . $record('Last Name');
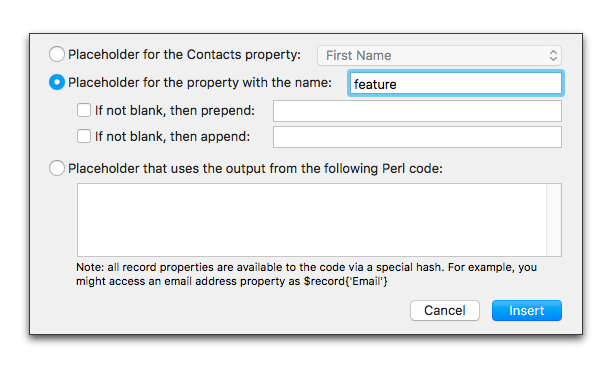
Figure 483
The “Other…” Merge Placeholder dialog
☞ If you use a placeholder from something other than the Contacts you would need to create a separate source records file as explained in “About merge source records” below.
This is your template document. The next step for you is to set up your record source.
In order to merge your template document, Nisus Writer will need source records. Text from source records will replace merge placeholders in your template to create many merged output documents.
The source records can be provided by either:
• Contacts from your system address book.
• A custom records file with arbitrary record data.
A records file is just a plain text file using a particular structure. These files are simply Comma-Separated Values (CSV) files. The structure looks like this:
• The first line (paragraph) contains all the record field names, separated by commas.
• Each subsequent line in the file is a separate record. All values in each record are separated by commas and match the fields given in the first line.
A simple example file showing 2 records:
First Name, Last Name, Email
Sammy, Smith, sammy@example.com
Sally, Smith, sally@example.com
Some rules about these record source CSV files:
• Separate each field name and record value with a comma.
• Enter the record values (first name, email, etc) in exactly the same order as the field names on the first line of the file. No fields can be rearranged or omitted.
• To include a comma in a field itself (for example, a date), enclose the whole field in straight quotes.
☞ Nisus Writer Pro sees a comma as separating two fields. So if you put in December 25,1800 It would be seen as two fields, Dec 25 and 1800. Therefore, if you want it to have a comma, type it in straight quotes as "December 25, 1800".
◦ To include quotes in a data document the following rule must be followed.
◦ To include a straight double quote in a field value, you actually double-up the quote; you must enclose the entire value in straight double quote marks.
☞ In order to achieve the result:
Arthur Herbert "the Fonz" Fonzarelli
using the Merge Placeholders «First Name» «Last Name» you need to have the following in the data document:
"Arthur Herbert "the Fonz"",Fonzarelli
Create a merge source records file
1. Open a new, untitled file.
2. On the first paragraph of the file, type in the field names that you will be addressing in the file. For the case in our example, you would type in:
First Name, Last Name, Organization,Department,Address (street),Address (city),Address (state),Address (zip),feature
☞ Leading and trailing spaces between the commas are ignored.
☞ The sequence of the fields in the data document does not need to match their sequence in the template document (one field might be used multiple times).
3. On all subsequent lines of the file, enter the information for each unique letter in the same order as the field names on the top line. Remember to use a comma to separate each data field.
4. Choose the menu command: File > Save As….
5. Give the file a name that fits your project.
6. Choose Text from the File Format pop-up menu.
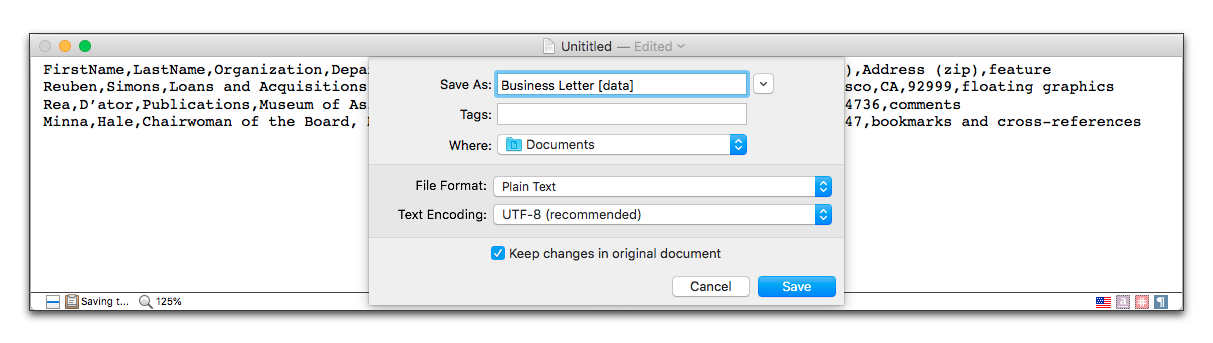
Figure 484
Saving the data document as Text
For the purpose of our example, the (fictional) text of the data file is:
Reuben,Simons,Loans and Acquisitions,Museum of Asian Art,198 South Bearing Way,San Francisco,CA,92999,floating graphics
Rea,D’ator,Publications,Museum of Asian Art (East Bay),9473 East Seaward Dr.,Oakland,CA,94736,comments
Minna,Hale,Chairwoman of the Board,Museum of Asian Art,3857 Ewinda Ave.,San Paolo,CA,93847,bookmarks and cross-references
Once you have your template document and record source in order, you can merge the two into a set of output documents. When you are ready to merge take the following steps:
1. Be sure your template document is open and its window is frontmost.
2. Choose the Merge Document command from either menu:
◦ Insert > Merge Placeholder > Merge Document...
3. The merge dialog appears:
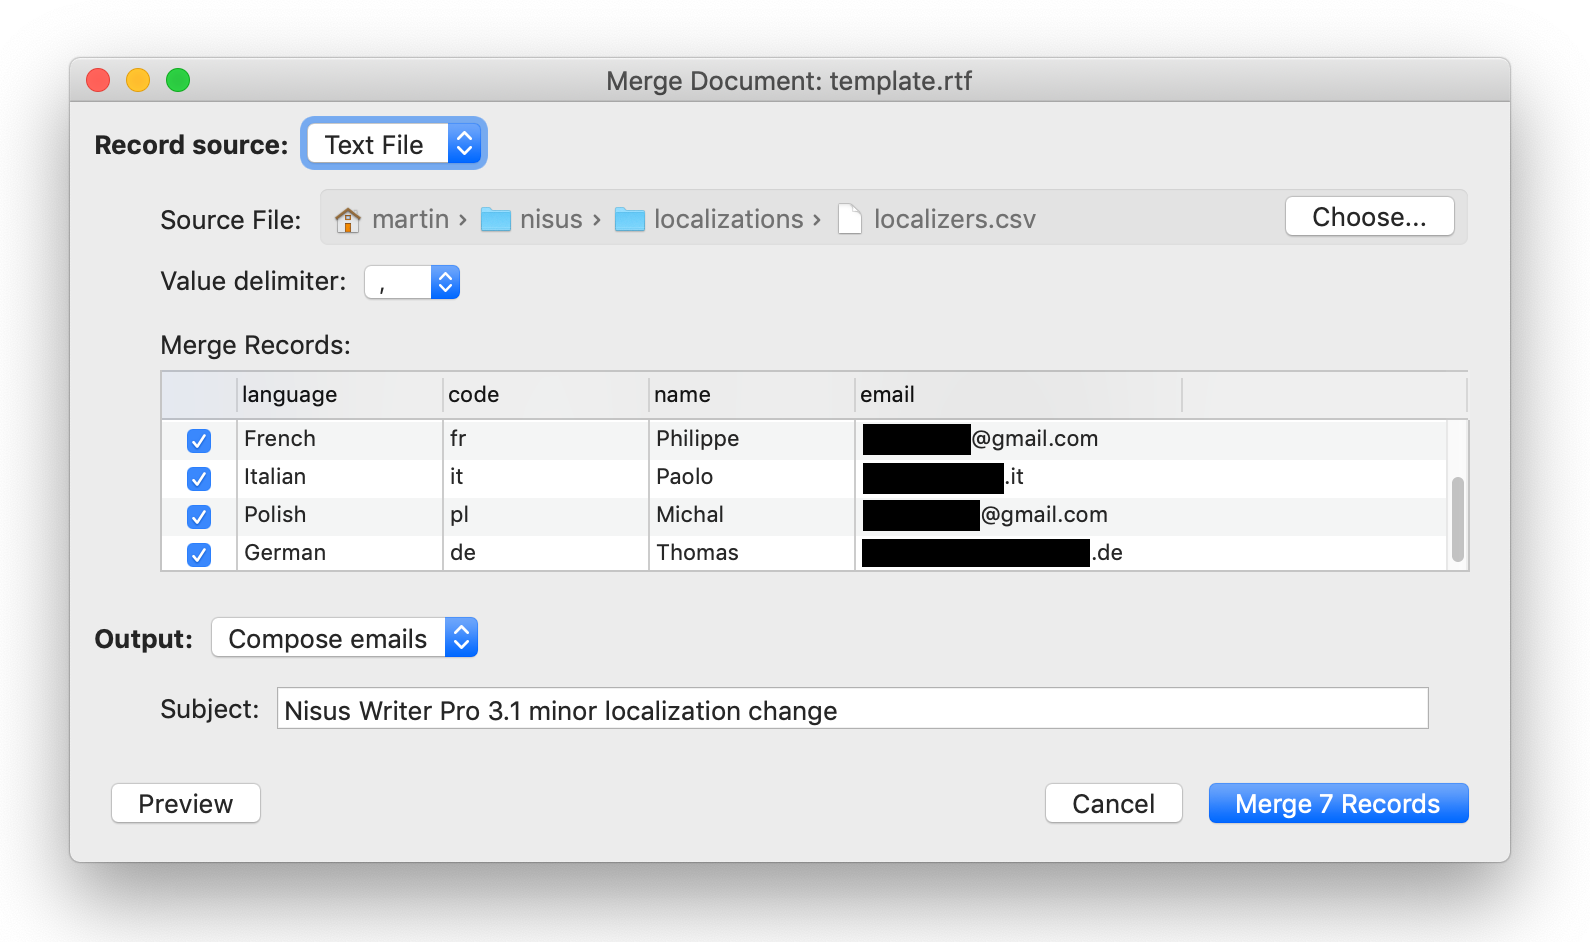
Figure 485
The Merge Document dialog
The available options are described in the following sections.
Choose the merge record source
The Record source can be set to either of two options:
• Contacts from your macOS address book.
• A text file, as described in the section on creating custom records files.
After you select the record source you will see a list of records extracted from that source. You should checkmark the records you want to include in the merge; records that are not checkmarked will be omitted.
☞ To checkmark all or none of the records click to show the contextual menu.
Choose how to output the merged documents
Nisus Writer can do a variety of things with the merged output documents, including printing or saving them.
☞ Before you merge your output it is always a good idea to click the Preview button. That will display a single merged document, so you can be sure there are no mistakes.
The following output actions are available from the Output popup menu.
This output action sends the merged documents directly to your printer.
⚠️ Unless you are in a big hurry and have confidence that the universe always unfolds as it should, it is better to save the merged file, review it for errors, and then print that.
This output action saves all merged documents as a single Nisus Writer Pro file. The content of each merged document is divided by a break of your choice (page break or section break).
This output action saves each merged document as a separate file.

Figure 486
Merge options when saving many files.
The options require that you choose an Output Folder where files can be saved.
The files saved to the output folder will follow the naming scheme entered into the File name template. The template can optionally contain placeholders that will be replaced with values from your source records. Such placeholders should use record field names enclosed in curly braces and prefixed with a dollar sign. For example:
Letter to ${First Name}.rtf
In the above example the ${First Name} placeholder will be replaced with actual first names from your records. You can use any number of such placeholders (or none) in your template.
☞ The file extension used in your template controls the output file format. For example, if your file name template ends with .txt then the saved files will be plain text.
This output action will create an email in Apple Mail for each merged document.
The subject of each email will use the text you enter into the Subject text field. This subject is a template and can use placeholders just like the File name template described under the output action “Save many files”.
The account (sender) used for the composed emails is not controlled by Nisus Writer. The sender is governed by Apple Mail, which seems to use the active account, ie: the visible account whose inbox is selected in the Apple Mail application window.
⚠️ Nisus Writer Pro cannot actually send emails. It can only compose emails in Apple Mail that you must manually send afterwards. For example, if you merge 50 records Nisus Writer will open 50 email windows! You must manually click to send each one.
| Previous Chapter Use the Window menu and working with multiple windows |
<< index >> |
Next Chapter Print Documents |