You may want to share an early version of your document with others and make sure that they know it is a draft, or confidential. To do this you would want to add a “watermark”.
Because watermarks appear on a page of paper (or PDF file) they are not visible when working in Draft View.
1. Choose the menu command: Tools > Watermark….
The Watermark dialog illustrated in Figure 491 opens set to No watermark. If you are working in Draft View and choose the menu command: Tools > Watermark…, Nisus Writer Pro automatically switches to Page View until you click Cancel or Apply.
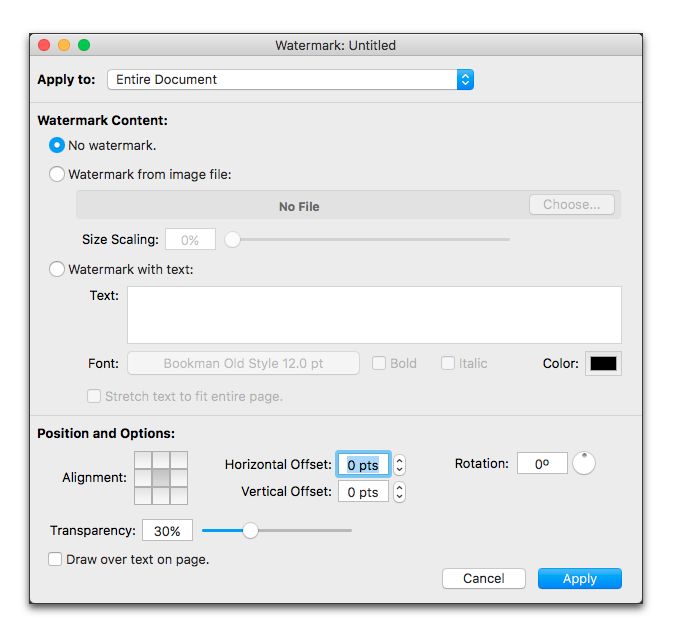
Figure 490
The watermark dialog as it first appears
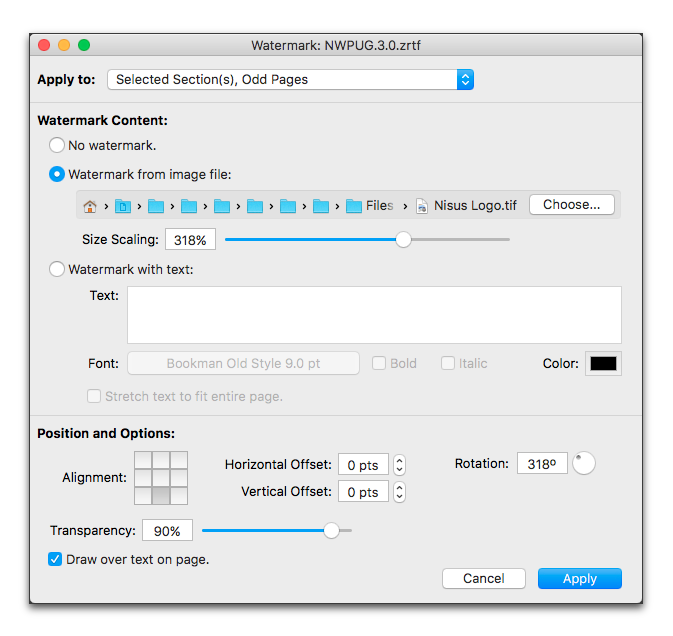
Figure 491
The watermark dialog with settings for the watermark on the Disclaimer/Acknowledgements/Copyright page of this document
2. Determine in what portion(s) of your document you want to have the watermark appear. You can apply a watermark to the:
◦ Selected Section(s), All Pages
◦ Selected Section(s), First Page
◦ Selected Section(s), All Pages Except First
And, if you have Use Facing Pages set in the Section palette:
◦ Selected Section(s), Odd Pages
◦ Selected Section(s), Even Pages
☞ “Selected Section(s)” refers to any section(s) of your document in which you may have made a selection before choosing the Watermark… command. You may need to move the dialog so that it does not obscure the document.
3. Decide whether you want to put an image in the background as the watermark or use some text.
4. If you want an image as the watermark, click Watermark from image file:
The Choose… button becomes enabled.
b. A variant of the Open dialog appears. Navigate to the image file you want to use and click Open. The field to the right of the choose button displays a visual representation of the path to the inserted image file.
c. Set the size of your image using the Size Scaling text box or drag the slider till you see the image in the size you want it.
5. If you want text as the watermark, click Watermark with text:
a. Type or paste the text you want into the text edit field that becomes enabled.
In the text edit field, you can:
▪︎ type Returns to have multiple lines of text break where you want.
▪︎ undo and redo actions.
b. Click the Font button of your text.
The button displays the current font’s name and size.
c. Check Bold and/or Italic to add those characteristics
d. Click the Color swatch to set the color of the watermark text.
e. Click Stretch text to fit entire page to have the text spread across from edge to edge independent of the size you set in the Fonts panel.
6. Set the alignment of the watermark.
When it first appears, the watermark is automatically centered on the page in the orientation and appearance of the original file. You can alter these.
a. Click any of the 9 options in the visual Alignment grid to have the image or text appear centered in that portion of the page.
b. Enter any positive or negative value in the Horizontal Offset and/or Vertical Offset fields or click the steppers to achieve a finer position adjustment.
☞ Press ⌘ when you click a palette stepper’s up or down arrow to apply the shown value uniformly to all selected text, instead of adjusting all selected values independently.
7. Determine the rotation by entering a value between 0º and 359º or turn the Rotation dial to the desired amount.
8. Set the Transparency of the image or text by entering a value in the available field, or dragging the slider to achieve the desired effect.
9. Determine whether or not you want the image or text to Draw over text on page or not by checking the box at the bottom of the dialog.
☞ Depending on the transparency of the watermark, drawing it over the text of your document may totally obscure the text. On the other hand, drawing the watermark behind the text will hide it behind any inline images.
10. When you are satisfied, click Apply.
☞ When you add a watermark to your document, Nisus Writer Pro becomes highly modal in its behavior. This is necessitated because the watermarking needs to take full control of the document window. Due to this limitation of being unable to scroll the document, Nisus Writer Pro changes the zoom ratio of your document so that you can see at least one complete page. If you had been in Draft View, Nisus Writer Pro switches to Page View. However, if your view had been set so that you could see more than one page of the document, Nisus Writer Pro will not change the zoom ratio.
| Previous Chapter Determine aspects of how your document prints |
<< index >> |
Next Chapter PDF Export |