there's one aesthetic inconsistency that I'd love to see fixed
Hi Stoob,
Would you like to have the icon look like this one?

- 1) Print.png (9.66 KiB) Viewed 4293 times
1. You can find this icon if you right-click on the Nisus application icon and open the folder Resources. Look for an icon named "
touchBar-print@2x.png". (This looks like an email address. Therefore the forum software makes this look like a clickable link, but it isn't. It's just the name of the image file. If you click on what seems like a link, your default email client will start up, but nothing else will happen.)
2. Select the file, press and hold down the option key while you drag/copy the icon to the Desktop. Leave the original icon in the original location.
3. Open the file on the Desktop in an image editor and add a white background. I used GraphicConverter to do this yesterday. You may have to reduce the size from 60x60 to 32x32 to match the other icons in the toolbar. I think I did that late yesterday evening, but now I have difficulties doing it, which isn't all too surprising because—to tell the truth— image editing is really not one of my favorite occupations.

4. Back in Nisus, execute the menu command View –> Toolbar –> Add Custom Toolbar Item… || Drag the image file from the Desktop into the "Item Icon", give it a name and Item Type. Click the button "Add Item".
5. If I remember right, Nisus now asks you to customize the toolbar. The steps are pretty much selbst explanatory.
I think your custom icons are keept here, at least all mine are here:
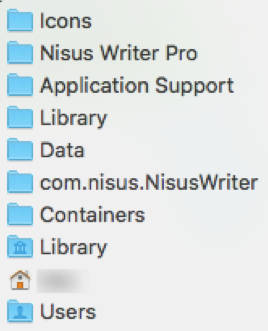
- 2) Custom icons location.png (67.73 KiB) Viewed 4293 times
If you are new to Nisus, you can see how to add your own custom Toolbar items in the Manual starting on page 605.
Here is a print icon with white background. Maybe you can use it as a starting point.
I hope this helps,
Þð